Guide — how to make natural homemade bar and liquid soap
Oils, water and lye —
everything that stands behind every soap recipe
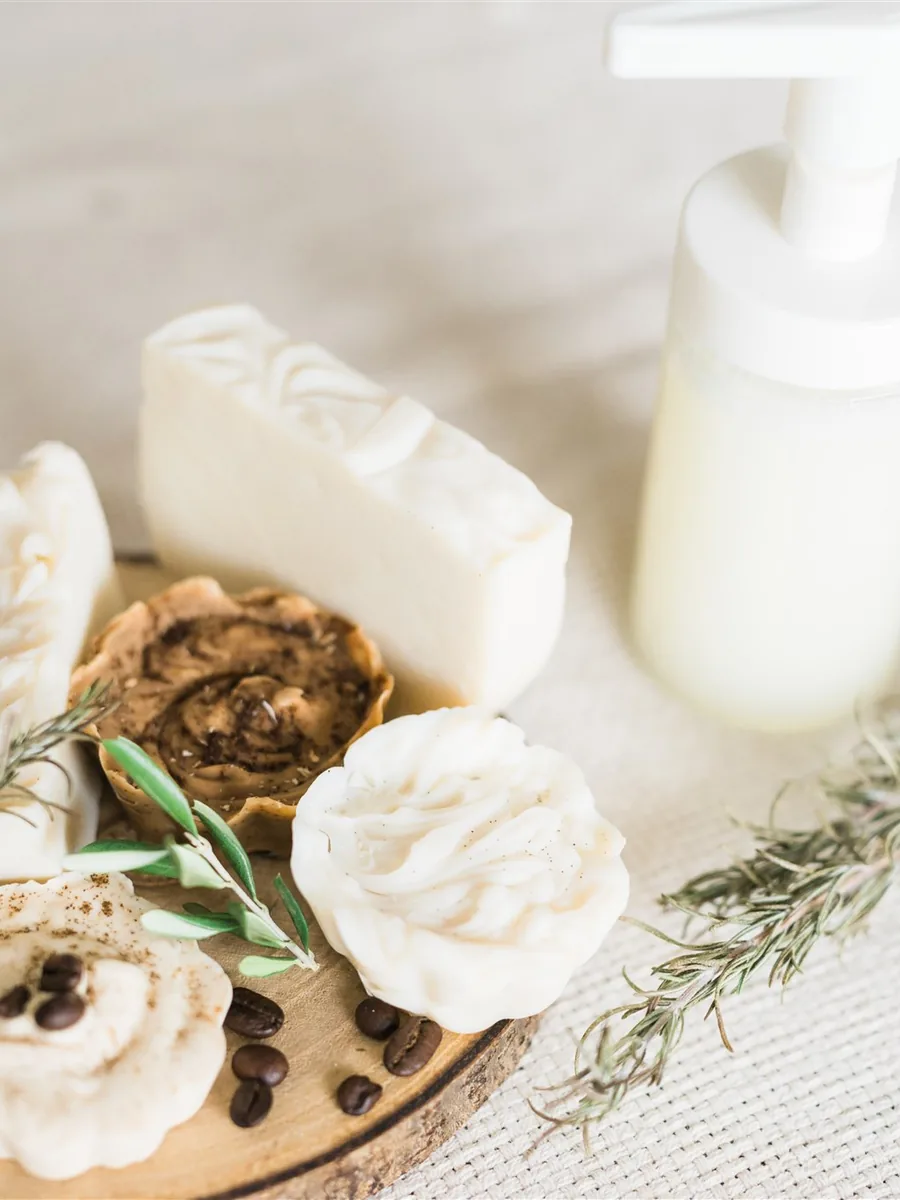
Soap is made at home from three ingredients: oils, water and lye. Everything else — colours, herbs, essential oils — comes at the end and is optional.
This is the whole guide, from safety to curing. If you are making soap for the first time, read it from beginning to end. If you only need one part, go straight to it.
Soaps divide into bars and liquid soap. The procedure is the same almost all the way through, and the liquid one has different finishing steps, so those come towards the end.
Ingredients
Soap making needs three things:
- Oils
- Water
- Lye — sodium hydroxide (NaOH) for bar soap, potassium hydroxide (KOH) for liquid soap
Put simply, we combine all the ingredients in a particular order and blend the solution with an immersion blender until we reach a trace.
A trace means that when you stop blending and lift the blender out of the pot, the drips no longer dissolve into the liquid but cling to the surface and leave a trace behind. It can be a light trace, barely holding on the surface, or a heavy one, like a pudding.
Oils
You do not need to buy cold-pressed oils for soap making, because the high heat takes their benefits away anyway. Go ahead and buy the biggest and cheapest refined oils you can find in the supermarket. The only time I use a cold-pressed oil, extra virgin olive oil for instance, is when I want the soap to come out darker.
Second, for the longest shelf life, up to two years, buy oils that have a year or more left before their best-by date.
Third, I do not use palm oil or coconut oil, for vegan and environmental reasons, so every recipe here is without them. In general it is best to use the oils that are common where you live. I live in a Mediterranean area, so olive oil is my first choice, but if you are somewhere mangoes abound, use mango butter.
Most recipes call for more than two oils. The exception is olive oil, which can stand alone — that soap is called castile, and it is the example we will work through here.
Every oil brings something different to soap: lather, conditioning, or cleansing. Each also has a maximum percentage at which it belongs in a recipe. Olive oil can make up all one hundred per cent of the oil part, castor oil around five per cent, sunflower oil fifteen, and canola oil up to forty. One possible arrangement, then, is fifteen per cent sunflower oil, forty per cent canola oil, five per cent castor oil and forty five per cent olive oil.
Maximum percentage of each oil in a recipe
- Avocado oil20 %
- Avocado butter12 %
- Argan oil10 %
- Canola oil15 – 40 %
- Carrot seed oil5 – 15 %
- Castor oil5 %
- Cocoa butter15 %
- Coffee butter6 %
- Coffee seed oil10 %
- Cucumber seed oil15 %
- Flaxseed oil5 %
- Grapeseed oil15 %
- Green tea seed oil6 %
- Hazelnut oil20 %
- Hemp seed oil15 %
- Oat oil5 – 15 %
- Olive oil100 %
- Macadamia oil10 %
- Pumpkin seed oil20 %
- Raspberry seed oil5 – 15 %
- Rosehip seed oil10 %
- Safflower oil20 %
- Sesame oil10 %
- Shea butter10 %
- Sunflower oil20 %
- Sweet almond oil20 %
- Walnut oil15 %
What each oil brings to soap
- Avocado oil — high levels of fatty acids make it good for regeneration, rich in vitamins A, B, D and E
- Argan oil — lathers well, rich in vitamins A and E, adds hardness to the soap
- Canola oil — a substitute for olive oil, gives a creamy lather
- Castor oil — absorbs easily into the skin, moisturises and builds lather
- Grapeseed oil — short shelf life, rich in antioxidants
- Olive oil — good for regeneration and hydration, does not lather and cleans poorly, gives a soft soap that takes longer to trace and longer to cure
- Macadamia oil — conditioning, stable lather
- Sesame oil — rich in antioxidants and fatty acids
- Sunflower oil — conditioning, rich in vitamin E
- Sweet almond oil — gentle on skin, medium lather, rich in vitamins A and E
Water
I recommend distilled water. Tap water is safe if you boil it first and let it cool, but it may affect your batch:
- If you have hard water — and Zagreb does — minerals can cause orange spots on your soap, because some of the softer oils in the recipe oxidise. They can also affect the lather and the cleaning performance, and leave a white powder, soda ash, on top of the soap.
- Tap water contains the chemicals that make it drinkable, fluoride and chlorine, which can change the colour of your soap or make it go rancid faster.
- Tap water quality varies. If it works one time it might not the next, and given how much can go wrong with soap, it is hard to tell whether the water was the cause.
All of this only shows up after curing, so it becomes an expensive mistake if you have made several batches by then. Your chances are better with soft water or a filtering system. In that case I would advise citric acid in the recipe, which helps a great deal against scum and rancidity.
My advice is to find a shop where you can buy distilled water in bulk and fill your own bottles, so you avoid plastic. If you are going to use the same recipe all the time, make a small batch with tap water and see how it goes.
And if you do buy distilled water in plastic, get the bigger five litre bottles, and once one is empty use it for bio-enzyme.
Lye
The lye for bar soap is sodium hydroxide, also known as caustic soda. It is highly corrosive and harmful, so it is a fair question why anyone would want it in their soap.
The answer is the beauty of chemistry. Combined with water and oils, saponification occurs and the result is safe to use. The same happens when sodium is combined with chlorine, another toxic substance — we get the table salt we eat every day.
Before saponification, though, lye calls for caution: do not breathe it in, do not touch it with bare hands, and wear protective glasses, because it irritates the eyes. Which brings us straight to safety.
Safety and equipment
Safety
For your own safety, always use:
- Goggles
- A face mask
- Gloves
- Long trousers and a long sleeved top
- Socks and shoes
- White vinegar — if you spill lye, on the worktop or on your skin, rinse it off with as much water as you can and then neutralise the spot with vinegar
- A ventilated spot — mix the lye into the water near an open window or an extractor hood, and better still, if you can, make soap in the garden or on the balcony
Equipment
- A silicone mat to protect the worktop, or a small folding table used only for this
- Kitchen scales
- An immersion blender
- A silicone soap mould
- A thermometer — a laser gun is best, a digital one is perfectly fine
- Pots and bowls — a stainless steel or plastic bowl for weighing the lye, a second one for the water, where the lye is stirred in and becomes the lye solution, a larger stainless steel pot for the oils, since they are heated in it and joined with the lye solution at the end, and small bowls for essential oils, herbs and powdered ingredients
- Utensils — a stainless steel spoon for the lye, a sieve to make sure no undissolved crystals go into the oils, and a silicone spatula for stirring the oils and pouring the soap into the mould
- A sponge kept only for washing this equipment
This does not have to be an expensive hobby. Find as much of it as you can in your own kitchen or in second hand shops — that way you support the circular economy along the way.
All the soap making equipment, the immersion blender included, is used only for soap. The kitchen scales are the one exception. The small bowls for herbs and essential oils can come from everyday use. I keep mine in the box with the rest of the equipment so everything is in one place, but that is my own preference rather than a necessity.
Working out a recipe
The easiest thing is to follow a recipe you have already found. Online calculators exist too, but I think it is essential to understand the relationship between the ingredients, so that you can check and work out a recipe yourself.
Always calculate the ingredients by weight, in grams. Oils have different densities, so measuring by volume is far too imprecise: a cup of olive oil is not the same as a cup of castor oil.
Step one — the oils
A recipe always begins with the oils: which ones we want, and how much. Each oil has a maximum recommended amount, which you have in the table above. The total amount of oil depends on how much your silicone mould holds. Mine fills to the top with about 1 kg / 35.2 oz of total ingredients, so I always use 900 g / 31.7 oz as the sum of my oils.
Here we are making the basic and best known castile soap, so olive oil alone, 900 g / 31.7 oz. Once the amount of oil is settled, the rest of the recipe falls into place on its own.
Step two — the lye
The lye is worked out with a simple formula. Every oil has its own saponification value (SAP) — the amount of lye needed to turn one gram of that oil into one gram of soap. SAP charts are available online, and these are the two I use:
The formula looks like this: oil amount × SAP value = the lye we need.
The SAP value of olive oil for bar soap (NaOH) is 0.135. For liquid soap, that is for KOH, the value is different.
In our case: 900 g × 0.135 = 121.5 g of lye. That is how much lye it takes to turn 900 g of olive oil into soap.
It is worth knowing that oils in a recipe cannot simply be swapped. You cannot say “I have no olive oil, I will just use sunflower” — you need the SAP value of that particular oil to know how much lye the recipe takes.
Step three — superfat and lye discount
We now have the exact amount of lye for the exact amount of soap. Even so, we want a little more oil in the soap than lye, so that the soap is safe on skin. The next step, then, is to decide what percentage of the oil will not turn into soap.
There are two ways to do it: by adding extra oil at the end of the process, which is where the name superfat comes from, or by taking lye away while working out the recipe, which is where lye discount comes from. Since it is so easy to forget the extra oil at the end, I prefer the lye discount. It is also worth noting that essential oils and colourants added at the end count as superfat.
So this is the fourth thing a recipe rests on: oils, water, lye, and the lye discount percentage.
The discount runs between one and twenty per cent. The higher the percentage, the softer the soap and the more likely the oils are to go rancid. The lower it is, the harder the soap, the more drying on skin, and the more lather. Anything from five to ten per cent is generally best.
For our recipe we will use a five per cent discount, which means we use ninety five per cent of the lye: 0.95 × 121.5 = 115 g of lye.
It is worth noting that both we and the online calculators assume one hundred per cent pure sodium hydroxide, which is rare even when buying directly from a producer. So if we chose the minimum five per cent discount, it will really be closer to seven or eight, which is fine too. I mention this so you know that if you forget to work out the discount, it will not be zero; it will be around two or three per cent.
If the finished soap is too drying on your skin, use it for washing dishes. Dish and laundry soaps are usually made with zero superfat. I do not recommend soap in a washing machine or on clothes in general, but one batch will make no difference.
Step four — the water
The amount of water is never exact, not even in the calculators. What we get is a range to choose from.
Water can be calculated from the amount of oil, the way many online calculators do it, or from the amount of lye, the way many soap makers do.
- From the oils — aim for thirty to thirty five per cent of the total oil weight. In our case 0.3 × 900 = 270 g of water.
- From the lye — the safest way is to take your lye amount and multiply it by three. In our case 115 × 3 = 345 g of water.
- Water discount — you can also make soap with less water. The trace then appears much faster, the soap cures in less time, and less soda ash builds up on top. Multiply the lye by two instead: 115 × 2 = 230 g of water.
- A simple single colour soap with olive oil — multiply the lye by 1.8 for an even smaller amount. In our case 207 g of water.
Our recipe:
- Olive oil — 900 g / 31.7 oz
- Lye (NaOH) — 115 g
- Water — 207 g
- Lye discount — five per cent
For an olive oil soap that lathers more, because it also contains castor oil, see the castile soap.
Working out a recipe with a calculator
The same principle holds with a calculator: we have to know which oils we want and in what amount. There is no need to look up the SAP number, because the calculator works out the lye and the water range for us.
What goes into the calculator:
- Which hydroxide you are using — NaOH for bar soap, KOH for liquid soap
- Which weight measure you are using — grams or ounces
- Which oil and how much — 180 g of sunflower oil and 720 g of olive oil, for instance
- What the lye discount is — five per cent is fine every time
- What the water percentage is — thirty three per cent is fine every time
- How much essential oil goes in — no more than three per cent of the total lye and oil
The calculators I use:
How to make soap
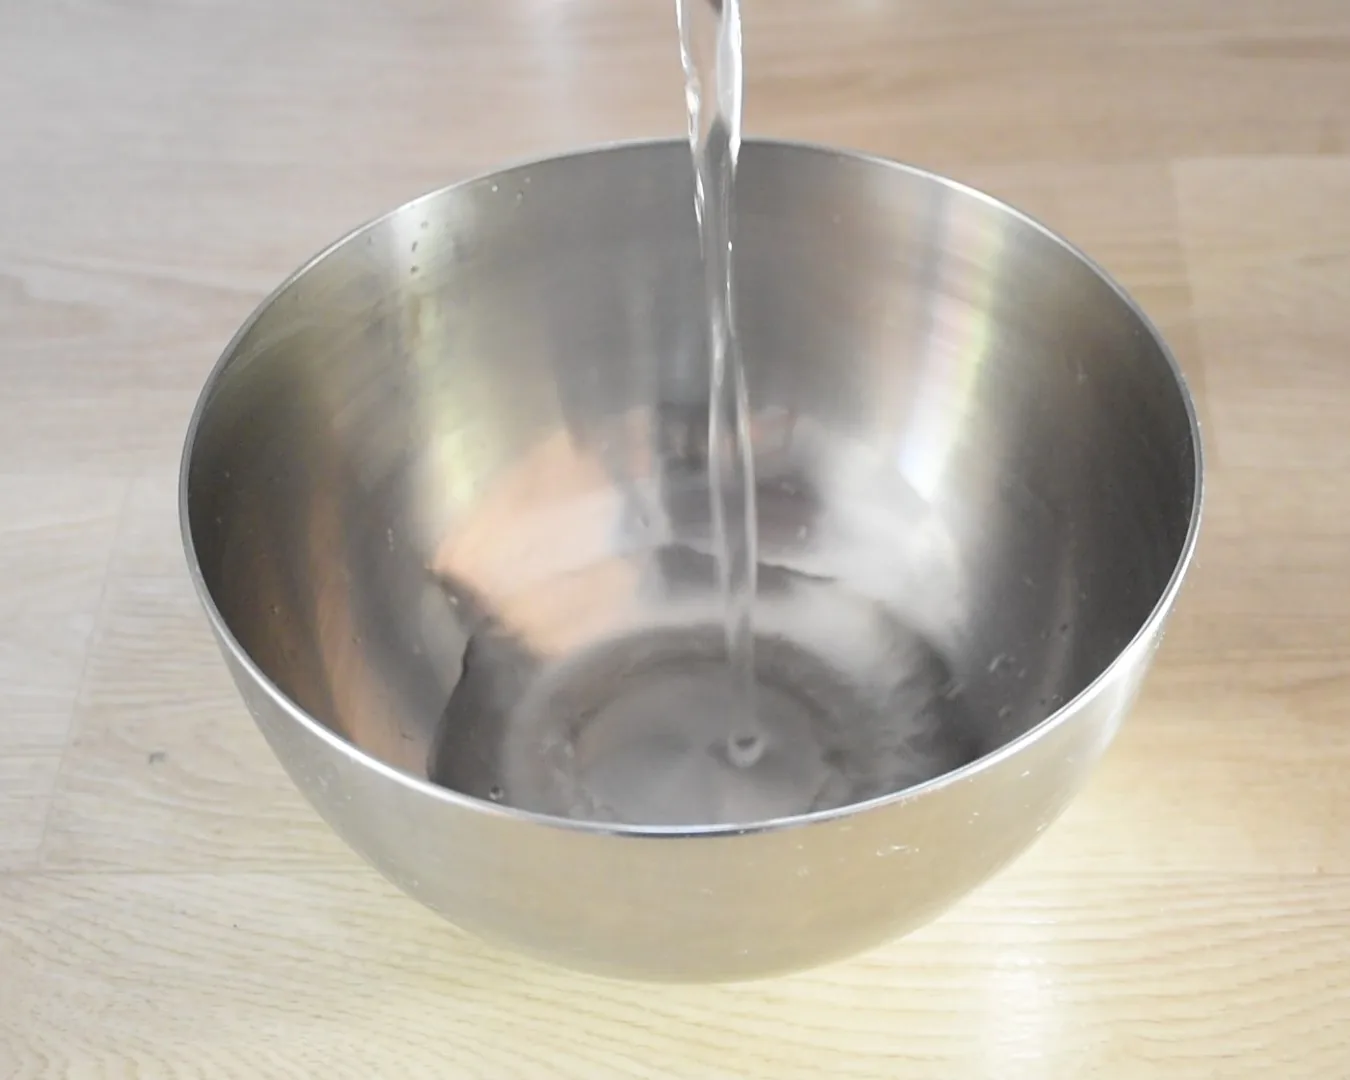
Weigh the ingredients
Each one goes into its own container — lye, water and oil, so three containers.
Zero the scales before each ingredient and write everything down. If something seems off later, the notes will tell you where to look.
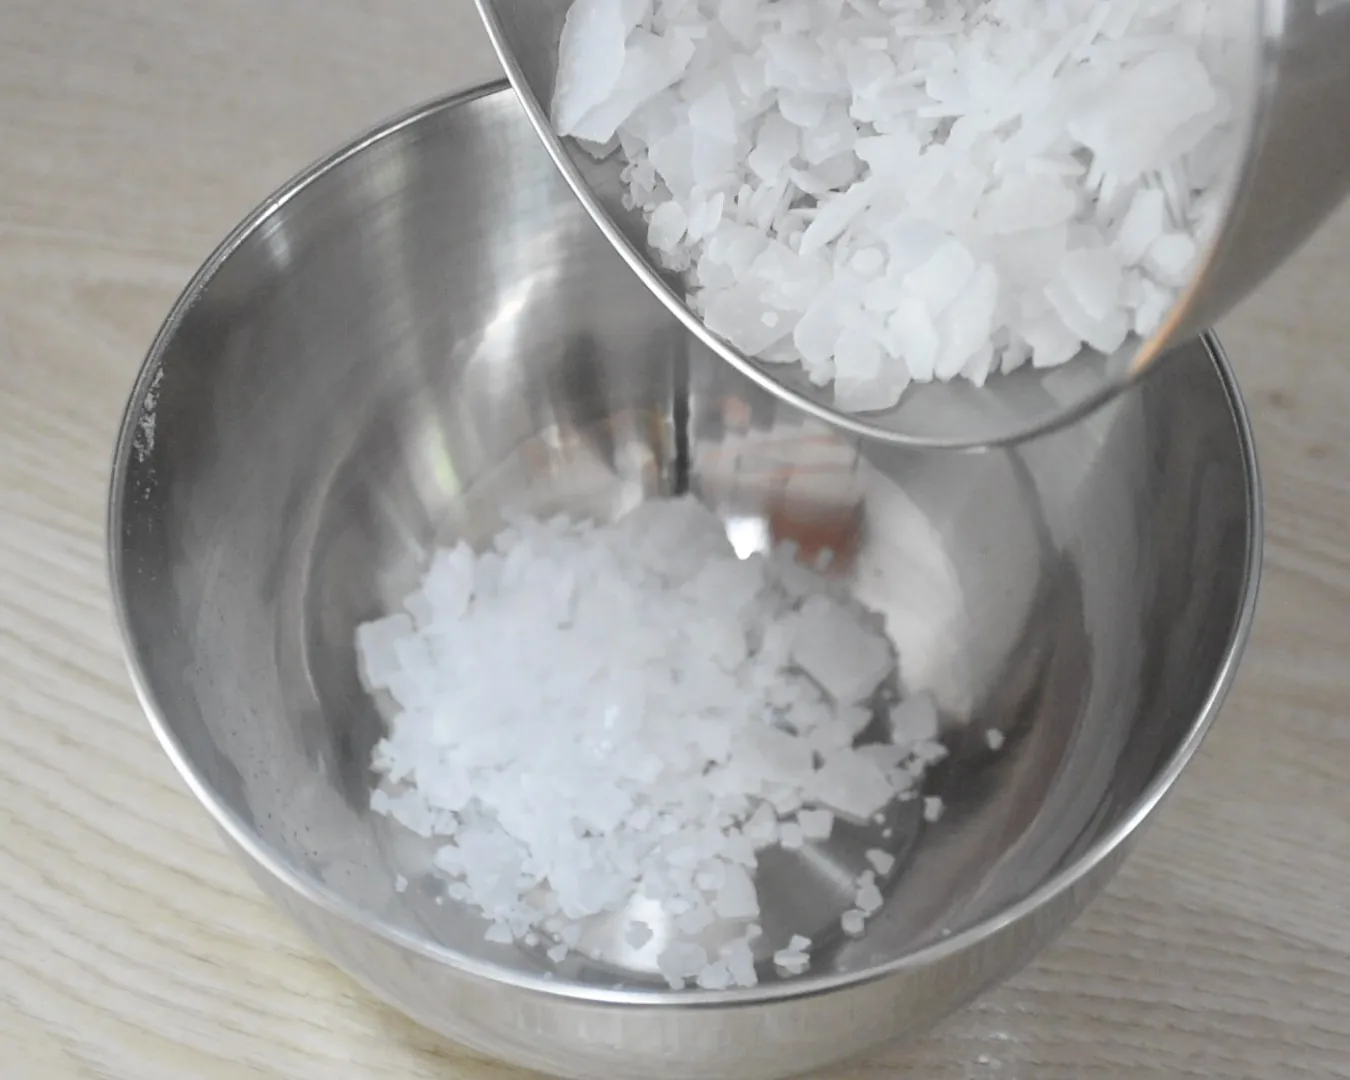
Pour the lye into the water
The order here is never reversed: always lye into water, never water into lye, because it could provoke a violent reaction. Work near an open window and keep your head away from the bowl.
Stir a few times with a plastic or stainless steel spoon until the lye dissolves in the water. This is now the lye solution, and it is very hot, so we set it aside for five to ten minutes to cool down.
The goal is to combine the lye solution with the oils while both are between 30 and 50 °C / 86 and 122 °F. They can be up to eight degrees apart. For a large batch it is better to be closer to 35 to 37 °C / 95 to 100 °F. When the lye solution reaches around 51 to 52 °C, move on to the next step and heat the oils.
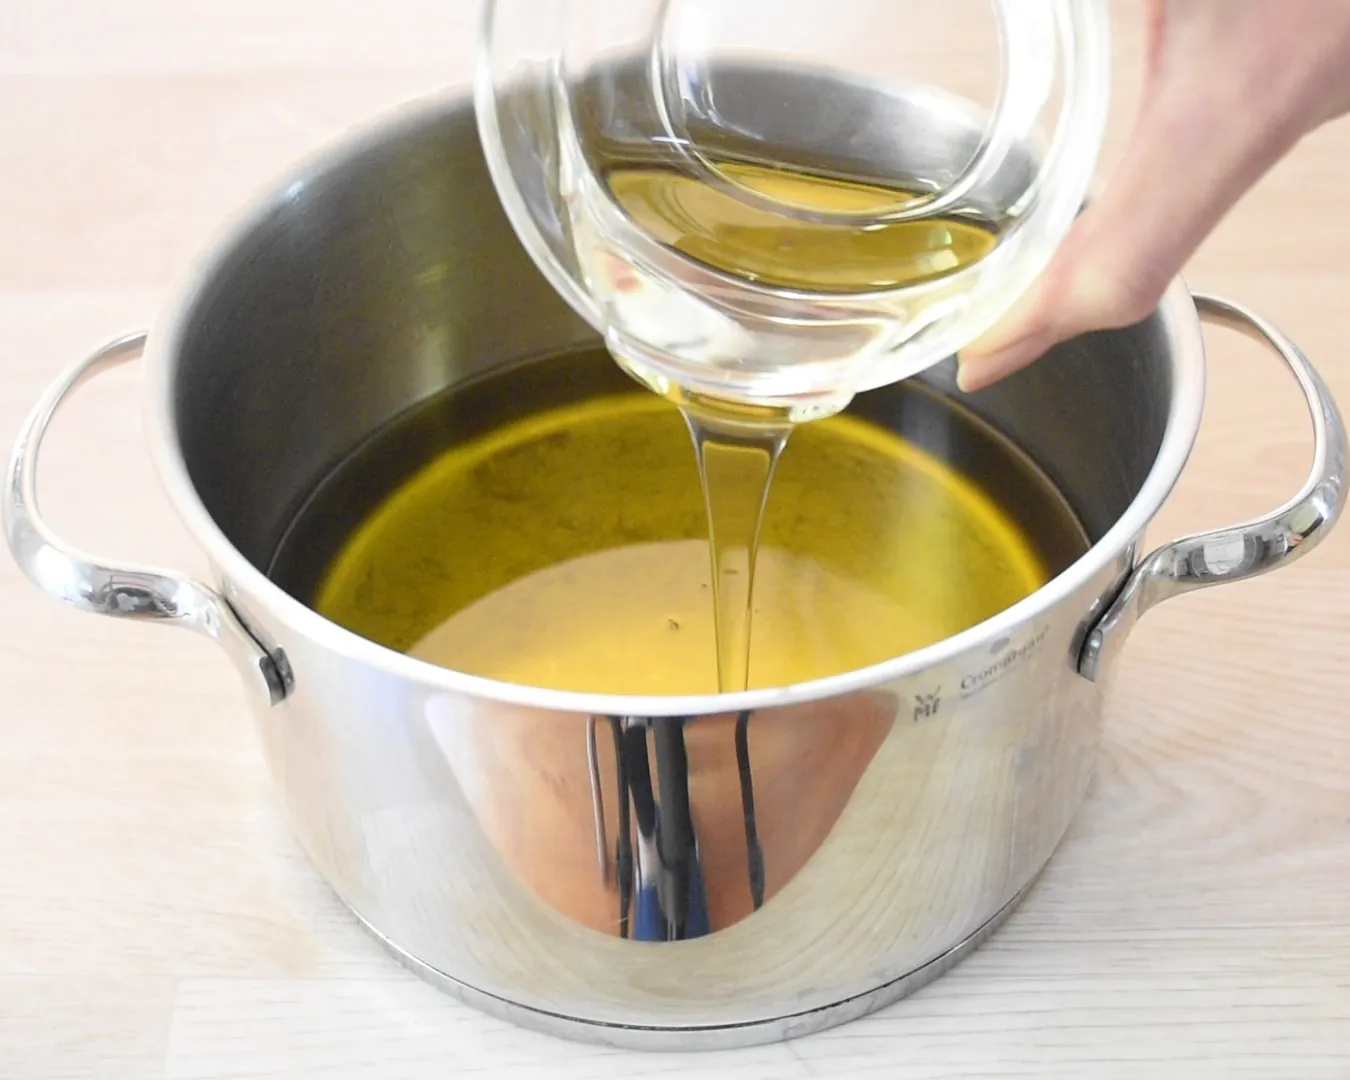
Heat the oils
The solution is very hot and the oils are cold. The oils heat quickly, in my case in under three minutes. Check the temperature with a thermometer to see whether they are close enough to the lye solution — again, they can be up to eight degrees apart.
Combine and blend to a trace
Pour the lye solution into the oils. Stir first with the blender switched off, then place it in the centre, completely covered underneath, and turn it on without stirring. Stir only when it is switched off.
After a few minutes you will notice the trace: the drips from the blender no longer dissolve into the liquid and cling to the surface instead. It can be a light trace, barely holding on the surface, or a heavy one, like a pudding. Cold-pressed oil takes a few minutes longer to trace than pomace oil. Once you reach the trace, you are done.
This is the moment for colourants, herbs, essential oils, or extra oil if you did not take a lye discount. After that we pour the soap into the silicone mould and cover it with cardboard and then a towel, for at least twenty four hours, though forty eight is preferable.
After forty eight hours take it out of the mould, cut it into bars and set them on a rack in a room out of the sun. There they cure for at least six weeks, though three months is better. Cover them with light paper or a cotton sheet so dust does not settle on them.
Why soap has to cure
Curing is not waiting for its own sake. There are three reasons the soap does not go into use straight away.
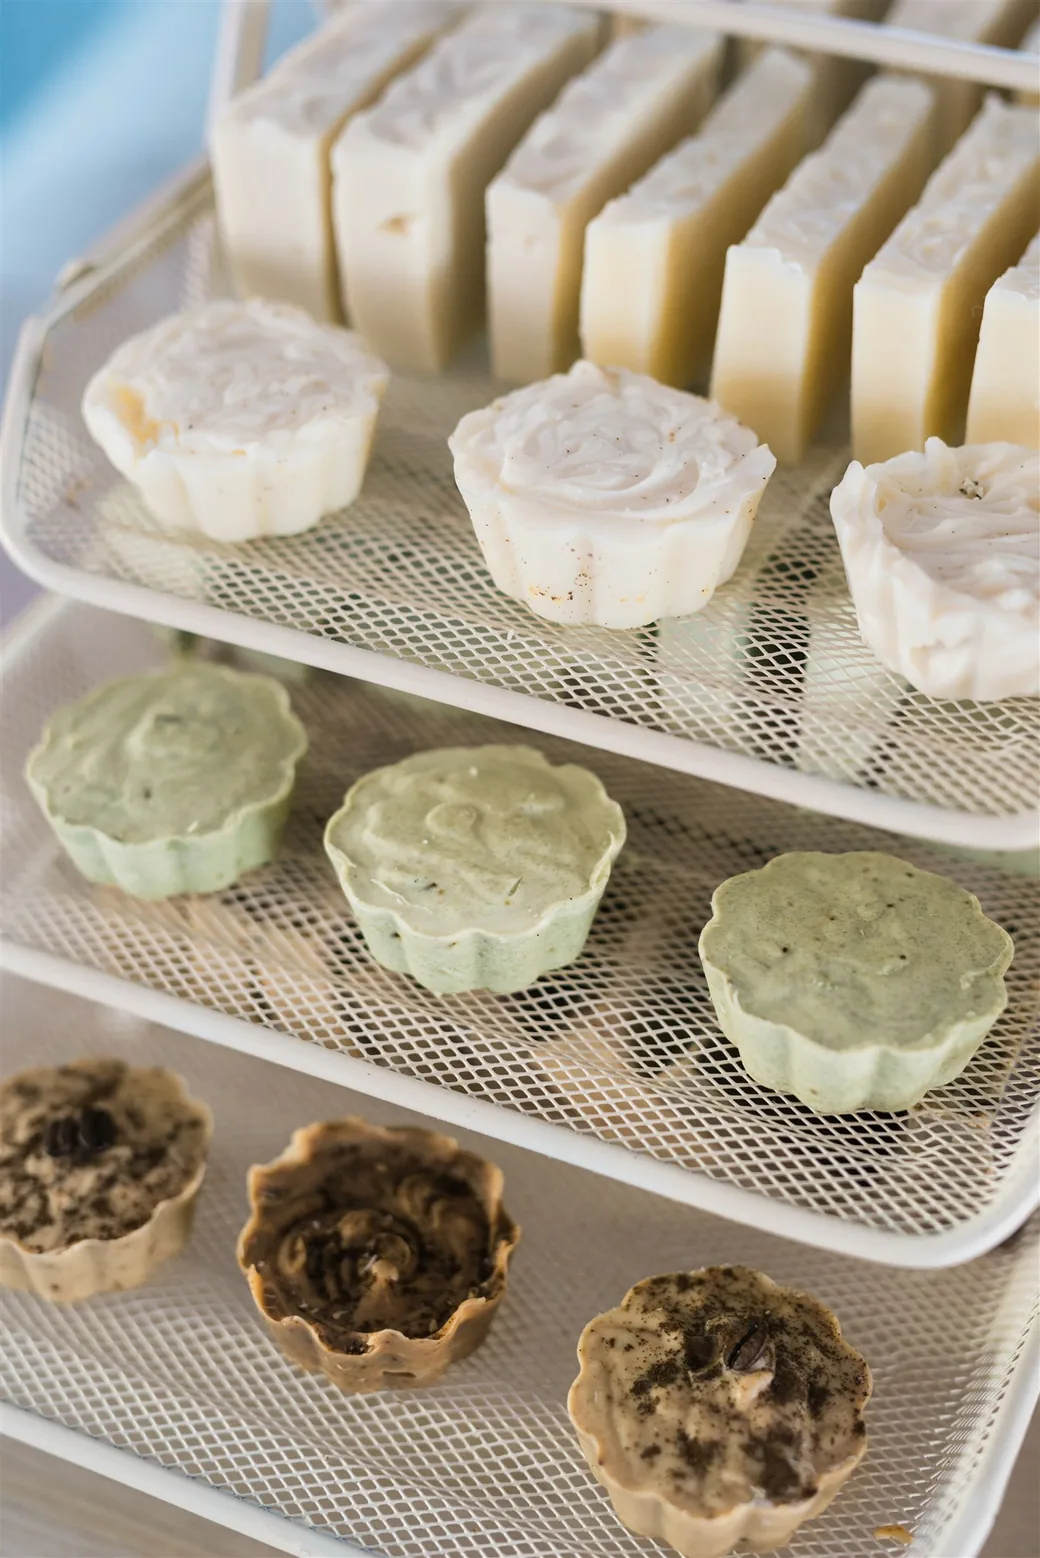
Saponification has to finish
Most of the saponification happens in the first forty eight hours, but up to five per cent of the lye still has to be converted into soap.
The water has to evaporate
There is still water in the soap and it needs time to evaporate. This is especially true of hot process soaps — ours was cold process. They finish saponifying during cooking, but they hold more water than cold process soaps and have to cure for longer. In that case weigh the bars every week, and once they stop losing weight the soap is ready.
The soap gets better with time
The longer we wait, up to three months, the better the lather, the less abrasive the soap, the better it cleans, and the less soft it is, so it lasts longer in the shower. Curing time can be shortened by putting less water in the recipe, by multiplying the lye by 1.8, but even then I would not recommend less than four weeks.
A note: curing starts on the day the soap is cut into bars and set on the rack, not on the day it was made, forty eight hours earlier.
How to make liquid soap
A liquid soap recipe uses potassium hydroxide (KOH) rather than sodium hydroxide (NaOH). On top of that, the same oil has a different SAP value: for olive oil with KOH it is 0.19, while with NaOH it is 0.135.
The procedure is the same as for bar soap. The difference begins when we start blending towards the trace. With NaOH the trace appears within a few minutes; with KOH it takes about an hour and a half: blend for a minute, leave it for ten, and repeat until the trace is there.
Once we reach the trace, the soap is cooked in a double boiler. We put the pot with the soap inside a bigger pot and fill the bigger pot with water up to the level of the soap. We cook it for one and a half to two hours, stir occasionally, and keep topping up the water in the big pot.
To check whether the soap is done, take a little on a spoon and taste it lightly with the tip of your tongue. If you feel something like a small electric shock or a sting, the soap is not ready. If you only taste something strange, it is done.
Once the soap is made there are two options:
- Store the larger part in a jar for later and dilute the smaller part with water.
- Dissolve all of the soap in hot water.
If you choose the second, leave the soap overnight in a large amount of water, and the next day stir it until it is completely liquid, topping up with more boiled water as needed. Store the finished liquid soap in a demijohn.
The full recipe is in the text on natural homemade liquid soap.
Colours, herbs and essential oils
In the last phase, when you reach the trace, you can colour and beautify the soap with herbs, spices and other natural ingredients such as clay. The same goes for essential oils, which all behave differently, so each one needs looking into on its own. Some herbs, for instance, are best used fresh in soap, while others are best dried. I am not going into them here, so that this guide stays simple, but here are some general guidelines.
- Natural colourants must not make up more than five per cent of the soap.
- For every 454 g of oil in the recipe, use one to two teaspoons of fresh herbs — thyme, lavender or rosemary.
- Essential oils must not exceed three per cent of the total lye and oil.
- Scent fixers “fix” the scent of an essential oil so the soap smells for longer. Some of them are cornstarch, oats, arrowroot powder and kaolin clay.
- With most citrus essential oils — lemon, tangerine, orange — the scent does not last long even with a fixer. With may chang and bergamot it does.
- If you want a lighter colour, make the soap at a lower temperature, 35 to 37 °C / 95 to 100 °F. For a darker colour work at a higher one, 47 to 50 °C / 118 to 120 °F.
- Mix clay with distilled water first, one tablespoon of clay to one tablespoon of water, and if the mixture is still pasty add up to three teaspoons of water per teaspoon of clay. This stops the soap from crumbling or cracking, since clay draws moisture out of it. In a single colour soap the clay can go into the lye solution or later into the trace, and in the lye solution the colour comes out stronger. In a multi coloured soap the clay goes into the trace. The standard amount is one teaspoon per 454 g of oil — less clay for a lighter colour, more for a darker one.
You can see how that looks in the green rosemary soap and in the coffee and cocoa soap.
Cleaning the equipment
- While you wash the pots and the rest of the equipment, keep your clothes, goggles, mask and gloves on, because the lye is still present.
- You can wash the equipment in the sink. The lye that remains is not a problem — it is in fact often used in drain cleaning products. If you have the option, wash everything outside and dry it in the sun.
- Keep one sponge for this equipment only. I use a luffa sponge, but any sponge will do. I write about waste-free sponges in the text on six kitchen replacements.
Where to go next
Once the guide makes sense, the recipes are the next step. The simplest is the castile soap, made with olive oil alone. Then come the rosemary soap and the coffee and cocoa soap, which bring in colour and herbs, and the liquid soap.
Every text about living with less waste sits on the zero waste page.
Want less packaging at home?
I offer zero waste consultations in Zagreb and the surrounding area. Book a free 20 minute call and we will look at where to begin.